
Weavers, warps, weaving
Warps for the new year are starting to appear in the studio and learning to wind a warp is the most exhilarating adventure of all.
Yes, pre-wound warps are wonderful but winding your own has the ultimate colour and texture option especially designed with your own mood.
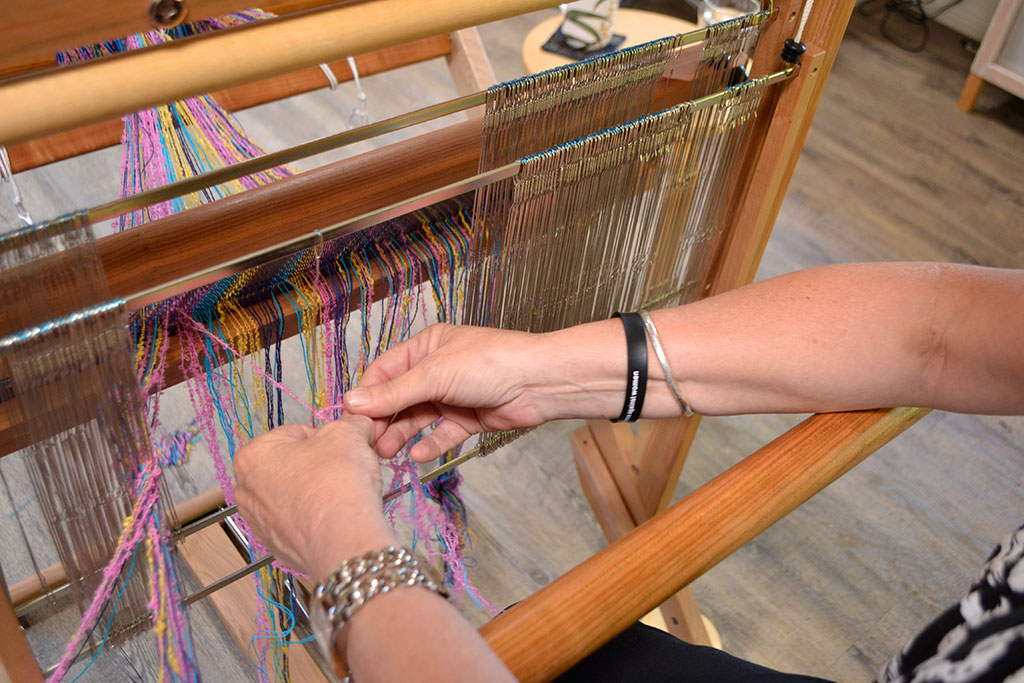
Cheryl has been in the studio learning the process and she learnt the five at once method and the one/one method. There are so many ways to enjoy warping and so many methods. The main thing is that it should be evenly wound in tension, have a least one cross in it to organise the threads and there is a firm choke tie around the 1 -1.2 metre mark from the cross. You should add more choke ties every metre or so especially on a long warp. The route around the pegs must be identical except where the cross is made. No shortcuts here and there. This is for a warp that will be threaded from front to back on the Saori loom. This means the reed is threaded first, followed by the heddles then tied to the back rod and wound (beamed) onto the back beam. Sounds very rule like doesn’t it. But the warp has to be right so everything will fall into place and you’ll enjoy weaving sooner rather than battling. When you start to warp I think it’s a good idea to wind several of them, one after the other.
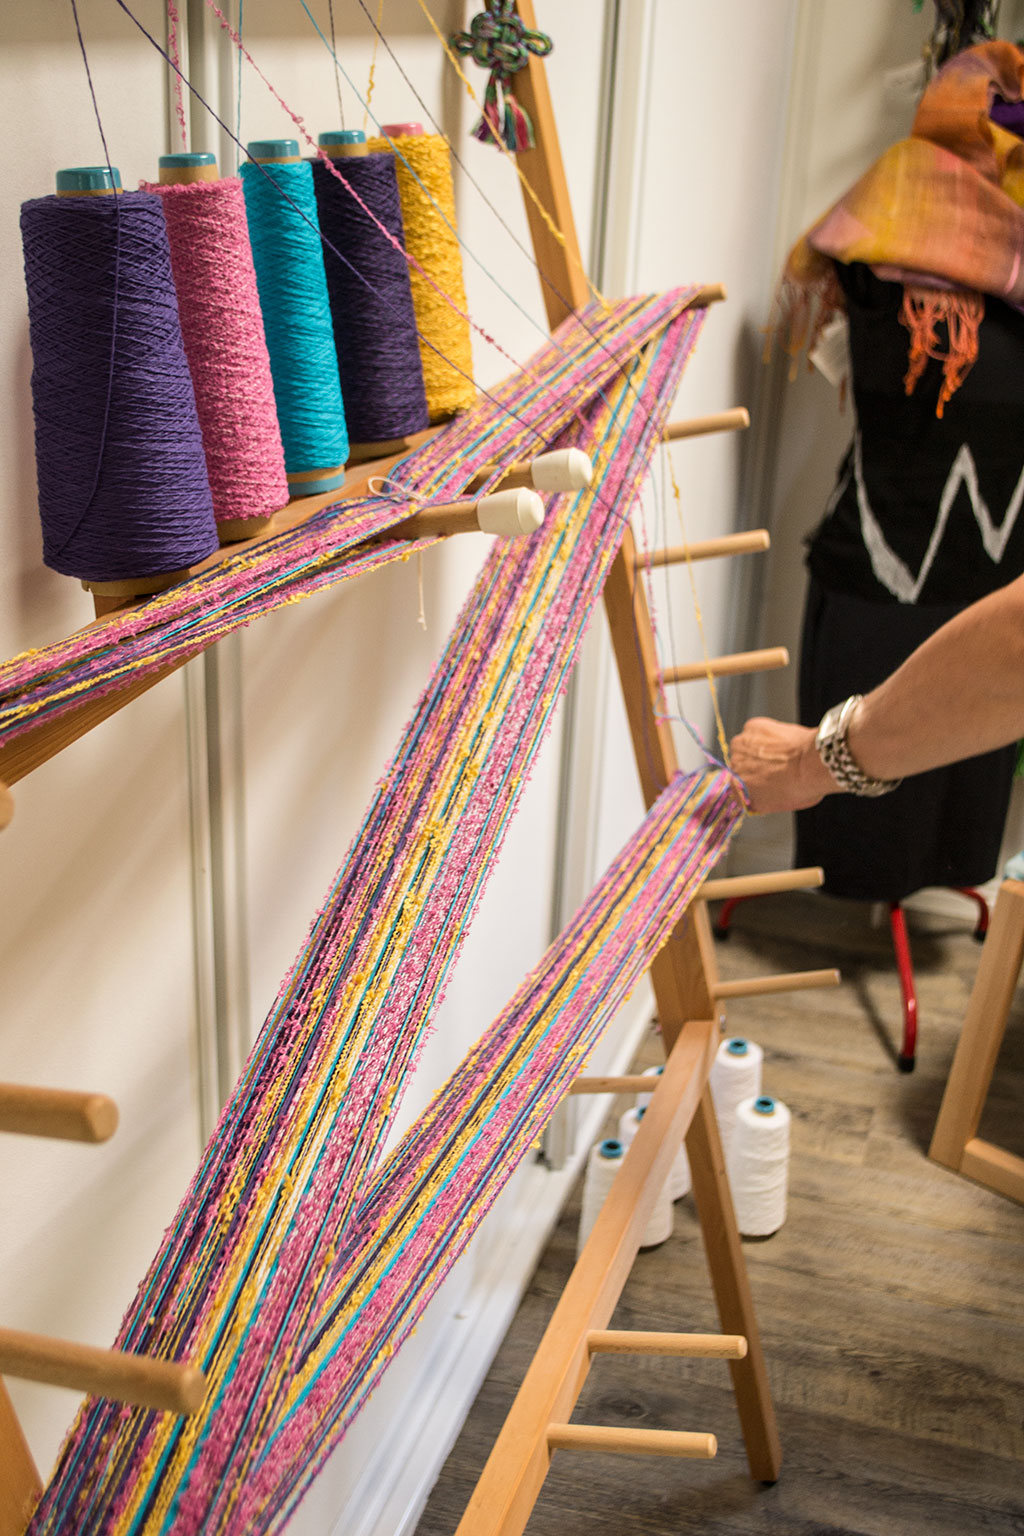
The Saori warping frame with legs is a great height to work with and it is a little different to conventional ones. It has slanted pegs and supports for up to 5 cones of yarn. Sometimes various cones won’t fit on the support and they need to be placed on the floor and the yarn taken up and threaded through the hooks at the top. Yarn must always be free to unreel without any impediment. Cones or kiwaku work the very best.
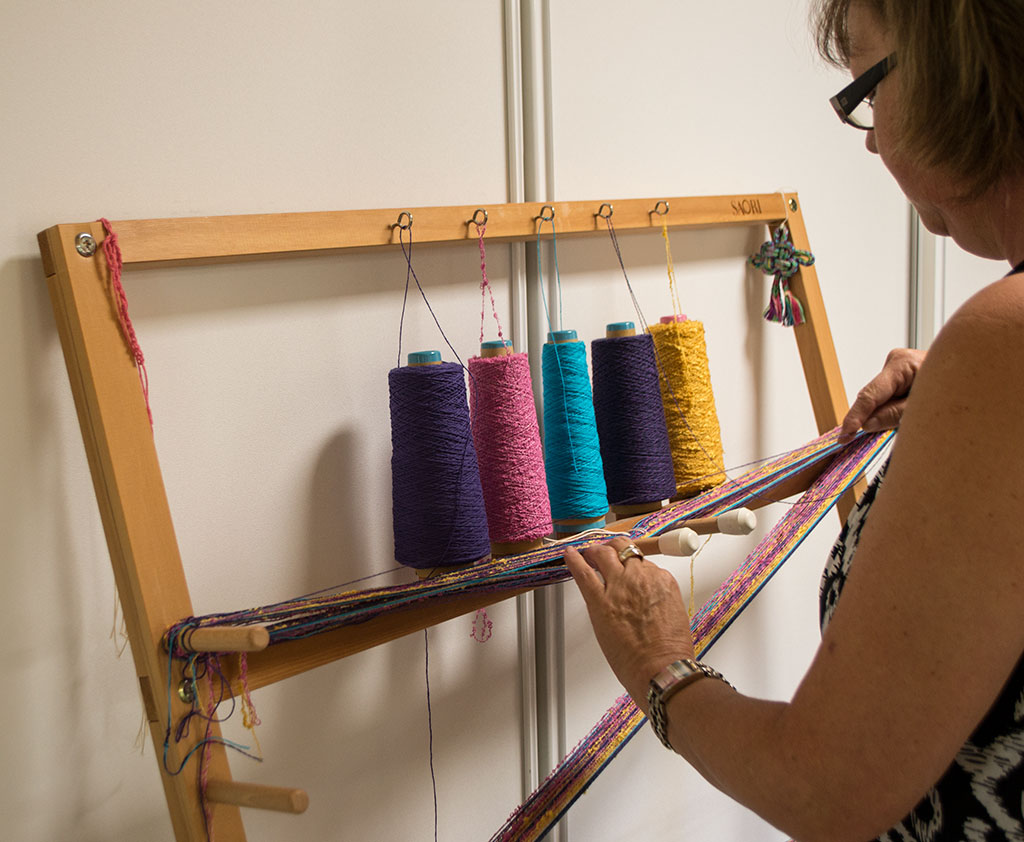
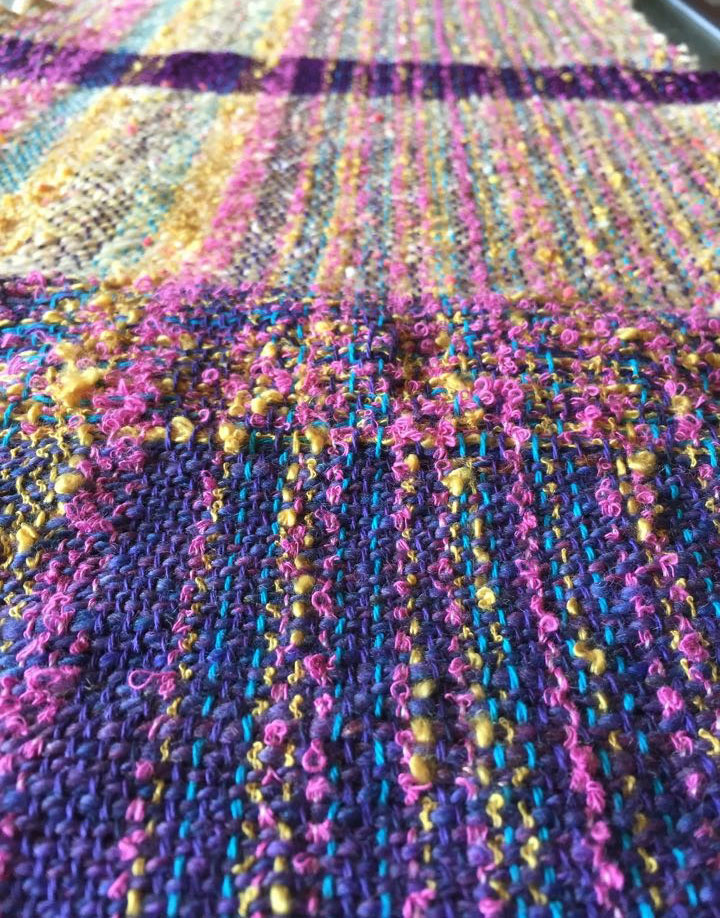
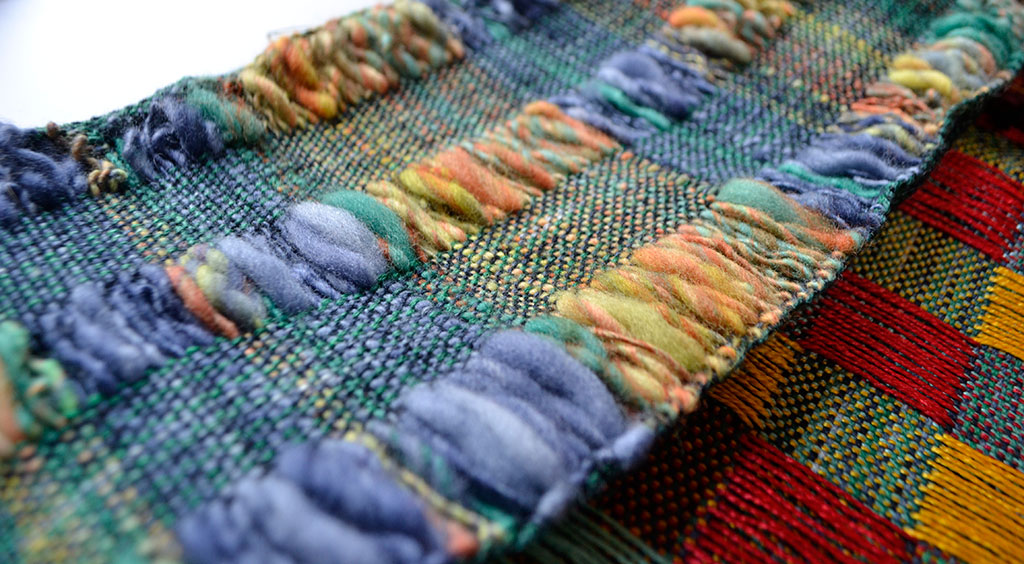
The Saori warping board has straight pegs and can be hooked onto a wall and will work well too. Cheryl chose a nice mix of straight and textured cottons to work with and carried the colourway to the weft. You can see here the completed weave which really makes a nice story about how the colours start out so raw and separate then become a fused cloth. Woops, yet another life analogy. They’re all over the place. Thank you Cheryl for cheering up the studio and sending on the mission completed pics.
Another ongoing weaver at the studio is Dominique. She is quite amazing in her productivity, inquiry and passion for delving further and further into the world of woven cloth. Her 4 shaft kit hasn’t had a rest since she acquired it and the tasks I set are completed and pushed to new limits of experimentation at every opportunity. We had been looking at Margo Selby’s book, Colour and Texture in Weaving. It is a beautiful, inspirational book. It is clearly set out but rather unconventionally and you really have to read up on how the pattern keys are set up. The BAM pattern was an interesting one and you can see here that Dominique made great use of handspun to show it off. Her experiments amounted to a number of creative and adventurous samples for future work. I think 2016 will be a great year for these two.
Some beautiful warps! I love teaching how to make warps too and see the excitement that results when the weaving begins. I began my weaving journey just 5 years ago with Anne Dixon’s 4-shaft book and a 4-shaft table loom; then Margo Selby’s book and an 8-shaft table loom. They have both been well explored and are extremely useful for multi-shaft weaving and definitely recommended for new weavers wanting to explore cloth structure further on the SAORI WX60 4-shaft loom too!