
Category: Drawing and Art Making
-
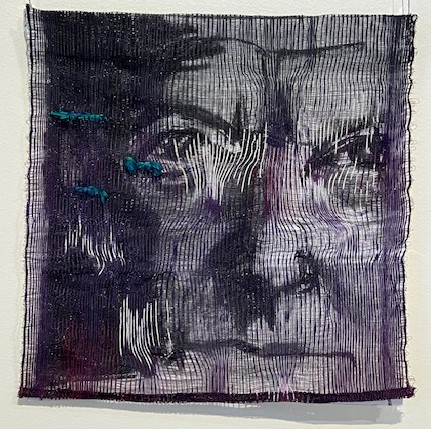
Exhibition weave
Combining woven cloth and portraiture drawing is a new direction that is making me turn up for work every day!
-
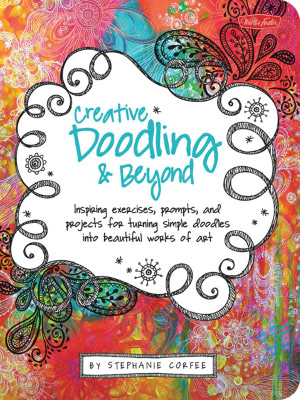
Doodling as textile design
Printing your own textiles is so achievable now with bureaus like Spoonflower. I’ve been working on the perfect design for over a year now, and realising that it will never see reality have rashly submitted a couple of designs based on a scan of native grasses and a seamless tiled and re-coloured image of a drawing that my niece did. I’m…
-
Imagining Weaves
I always admire fashion drawings. But often the figures aren’t suitable for the type of work I do..at least I don’t think so. Pauline Weston Thomas’s site is a great resource for fashion – today’s and previous eras. I used her fashion drawing templates as a ‘kick off’ for my design here. It really just gave me…
-
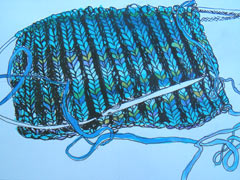
Drawing Knitting
In between knitting I’ve been drawing the knitting. This is the handspun, hand-dyed yarn being promoted to a brioche scarf. Brioche stitch is really easy to do and it has the most amazing loft to it. Probably helped out by the light spin I did on the singles yarn. Drawing yarn, I’ve found, is challenging…