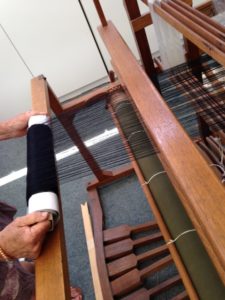
I recently had a great day involved in the repair of a very special local community loom .
Years ago as a young newly enthralled weaver, we used to holiday at Forster beach. The very special north facing and beautiful main beach had a craft centre right on the water. It was filled with all manner of crafts but had a large floor loom and table loom with work in progress. Every holiday I would go and spend ages just looking at the looms although no-one seemed to be working them! So you can image the joy when asked to repair and bring back to life the same loom at the albeit now not-so-scenic re-located Forster Arts and Craft centre.
The whole loom had steel components that were rusting in the coastal air. The loom hadn’t really been touched or maintained for over 16 years. The string heddles fell apart when we touched them and the rusted components needed to be replaced. I should say that sometimes older looms aren’t worth repairing if they are missing parts or too badly damaged but this one was worth just replacing the all cords on the lamms and heddles with Texslov. The loom has a lovely, easy treadling and is a good one for group use. I hope it now gets the WeaveLOVE it needs to thrive and create. It is so nice when I can touch my weaving past in such a way.

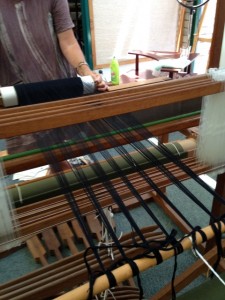
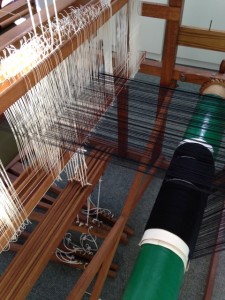
To set up the loom for use I wound a 12 metre Saori black cotton pre-wound warp onto the loom. I would probably still be there winding and beaming if I had to prepare a warp as well as repair it so the pre-wound warp was a fantastic time and energy saver. Many of my customers ask about using the pre-wounds on non-Saori looms but it depends on what type of loom it is and what experience you have. The pre-wound warps do not have a cross as such but have the threads ordered with some tape so you can take each one in its turn to thread etc. I have a customer who buys the thirty metre long 60cm wide wool warps to put on her loom as there are very few places you can buy weaving warp yarns in Australia and she gets an ‘impossible to wind yourself‘ thirty metres to weave off.
Methods for using the pre-wounds on non-Saori looms
You can pre-sley the reed to keep the threads in order. You can place cross sticks into the warp when you are pre-sleying or just pick up the cross yourself taking each thread in its turn. This way you will have a traditional cross. In the photos here I didn’t pick up a cross but simply used the reed as a raddle. It would be easier to thread the loom after beaming if you had cross sticks in the warp. I used the more awkward Kaz method – which worked but not necessary :). This method allows you to thread from the front of the loom. Most looms are easy to thread this way.

A more direct method is to pre-sley the reed (to the correct dentage) then thread the heddles, tie the ends to the back rod, then beam the warp with someone holding the pre-wound at the front. This is only possible if threading from the back of the loom is comfortable and possible.
As you wind on the warp with a helper at the front use the paper separators in the warp at the back as they are released from the front.
Surprisingly only took about 15 minutes with the help of my warping friend Marilyn. Pretty nifty and easy.

Leave a Reply