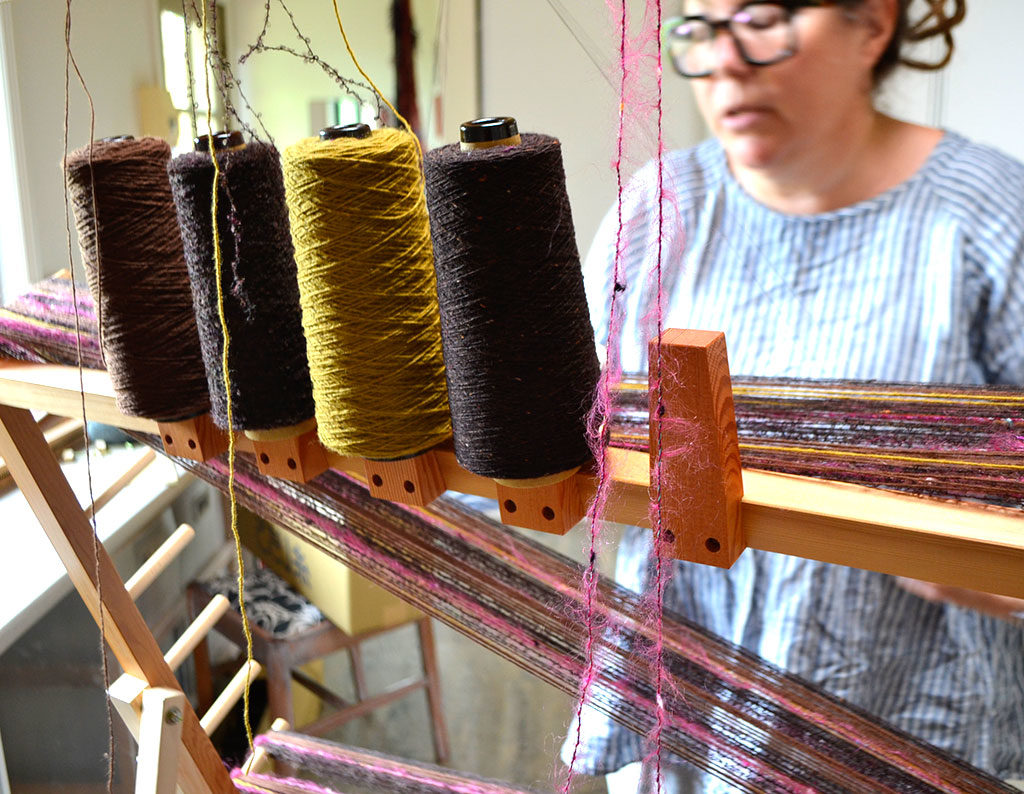
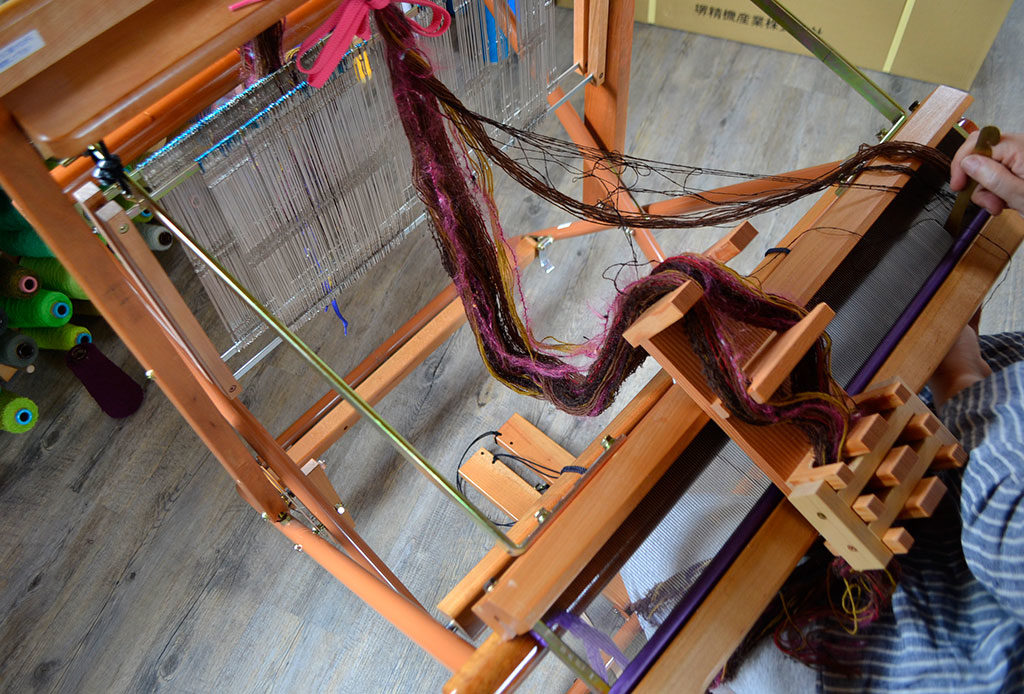
Any method of warping can be used on the Saori loom but Saori have developed a selection of innovative and comfortable options to make it easier, more comfortable and more expedient. Here is a review of each method and when you would use a particular method.
When warping and beaming a warp onto a loom the object is to transfer the warp onto the loom in a organised and ordered fashion. Otherwise it’s just a bunch of strings. The first step in organising the threads is to wind them onto a warping board (or similar set up) and create a weavers cross to order threads. The cross places the threads in the order they are wound and prevents tangles and disorder.
The way you wind the warp varies slightly according to which method you use. Method 1 below has cut ends at the start and end points of the warp. Methods 2 & 3 have loops at each end. We want ties or loops in the right place to assist us when we get to the loom.
Ways of warping the loom
Basically, there are two general concepts to warping. First, the front to back method. This means the reed is sleyed first, then the heddles are threaded, the warp is tied/attached to the back rod and the whole warp is then beamed onto the warp beam. This method has all of the threaded warp being pulled through the heddles as it goes.
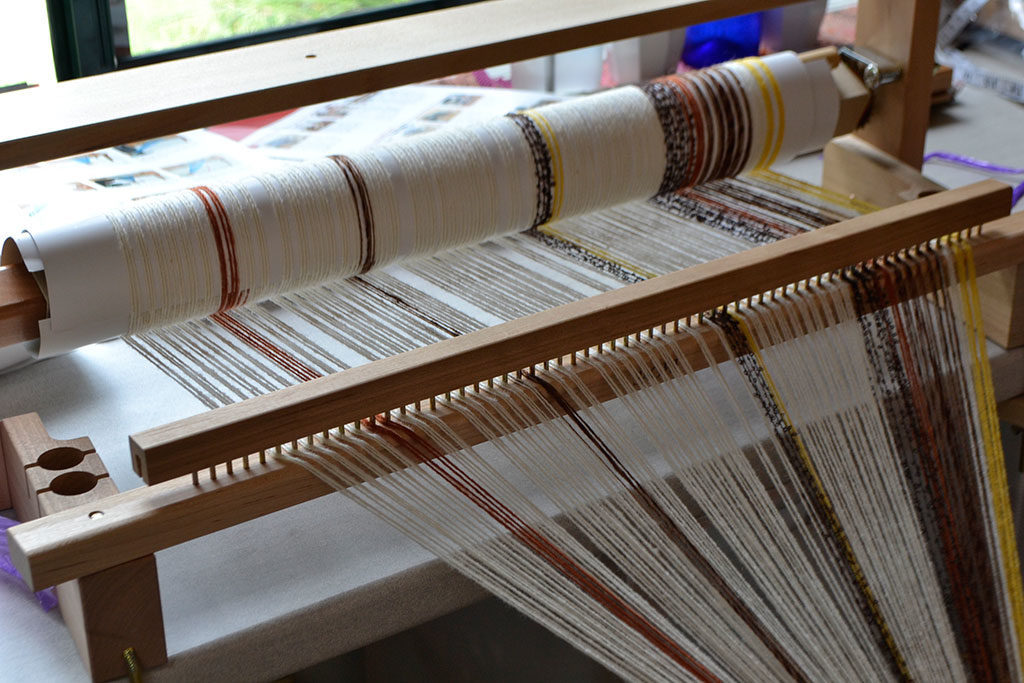
Or, there is the back to front method which is more popular generally with weavers in Australia. This has the warp divided into specified increments at the warping stage and these sections are placed into a divider called a raddle at the back of the loom. The raddle*sections correspond to the warp sections created in a raddle cross on the warping board. For example, Kenzo’s Dividing Bar* is divided into 1 centimetre sections. So we wind a corresponding cross in the warp with five ends to represent a centimetre when using a 5/cm reed. Once the raddle has been filled with the warp sections we can directly wind onto the back beam as the raddle has spaced the warp out evenly across the width of the intended cloth. We then thread the heddles, followed by sleying the reed and tying onto the front rod.
Note: *Kenzo’s Dividing Bar acts as a raddle in Saori warping but is more flexible as a warping tool in conjunction with the Tabletop Beaming and Threading unit.
Both sleying a reed or spreading the warp in a raddle act to spread the warp out to its full width ready to wind on all of the warp. Putting a warp onto a loom is sometimes called ‘dressing a loom’. This phrase suits the process well.
Method 1: Warping front to back on loom
The process involves: 1. winding a warp, 2. sleying a reed , 3.threading the heddles, 4. attaching the warp to the backrod . 5. beaming the warp onto the loom, 6. attaching the warp to the front rod. WEAVE.
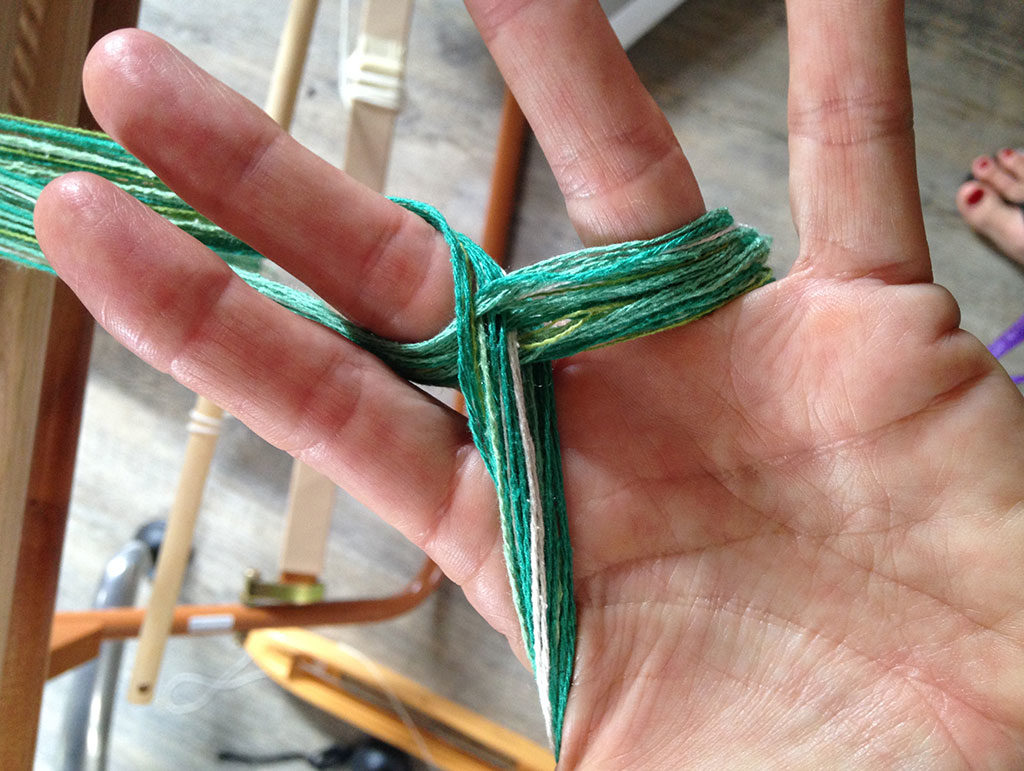
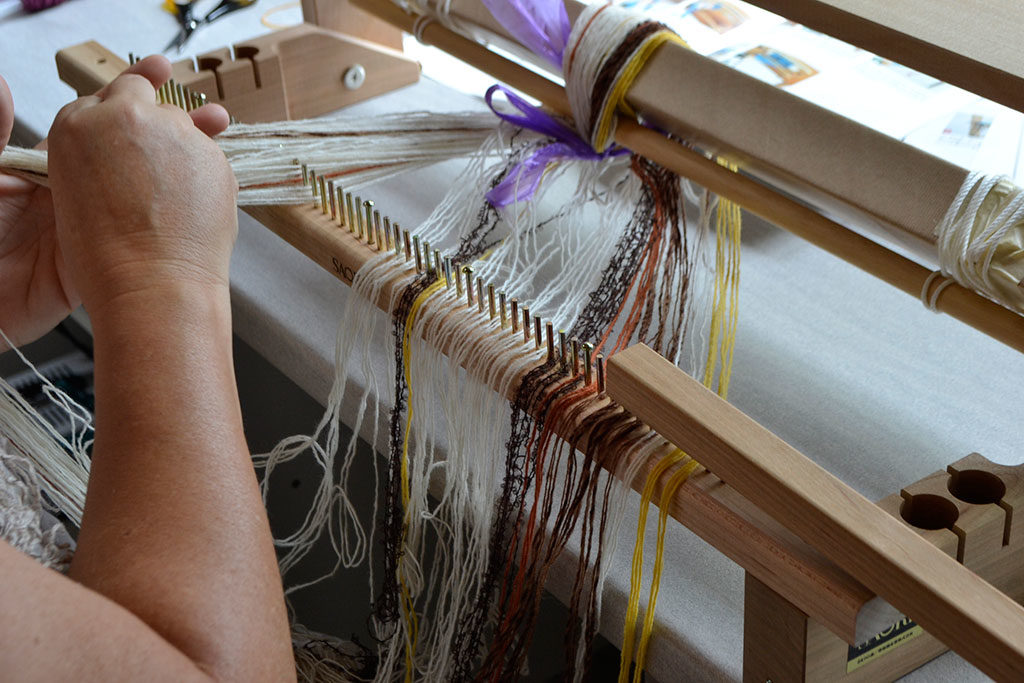
This method uses no additional equipment, except for the option of the cross holder which makes holding the cross much more convenient. In Saori warping we don’t use sticks on the loom to hold the cross. The cross is accessed vertically in the hand, as shown here or held in the cross holder.
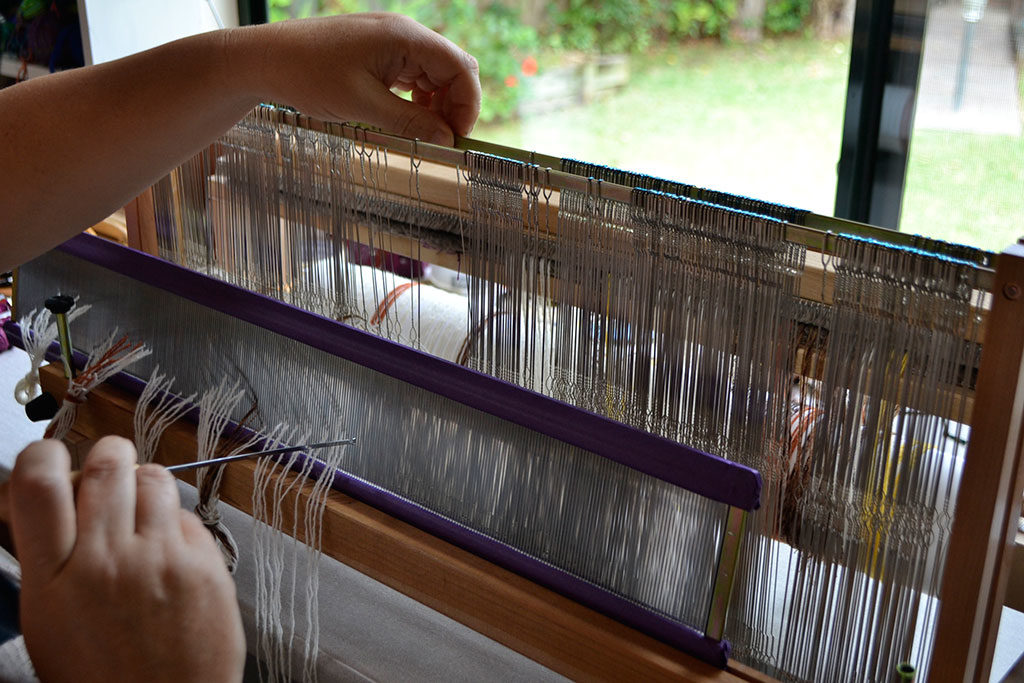
When using this method on the loom sleying the reed and threading the heddles are two separate actions, unlike the combined method with the pre-wound warps.
Pros: Nothing more to buy beyond the loom if you hold the cross in your hand. Works very well. You can sit behind the loom on a comfortable chair to thread. Or you can purchase a cross holder to make holding the cross more comfortable over the time you are sleying the reed.
Ref: Saori Self Innovation through Free Weaving p33-44.
Method 2: Warping back to front on loom
The process involves: 1. winding a warp, 2. spreading the warp at the back of the loom with the Kenzo’s Dividing Bar, 3. beaming the warp onto the loom. 4.threading the heddles and reed in the same action. 5. attaching the warp to the front rod to finish. WEAVE.
This method requires Kenzo’s Dividing Bar but you don’t need the cross holder.
The warp is wound with a sectional cross. For example, if using a 5 dpc reed (standard on the Saori looms) there will be 5 ends in each cross. This is sometimes known as a raddle or portee cross. The warp also has an uncut loop at the end point. This loop is slipped onto the back rod and the warp distributed in the dividing bar to provide the weaving width and spread the warp for beaming. The warp is then beamed onto the loom using the Saori technique for the Dividing Bar. Then you can sley the reed and thread the heddles in the same action, like using a pre-wound warp.
Pros: Good method for hairy yarns that may not like to be dragged through the heddles as you beam the warp. Quite a quick method.
Method 3: Warping back to front off loom
The process involves: 1. winding a warp, 2. spreading the warp with the Dividing Bar set up on the Tabletop Beaming and Threading unit, 3. beaming the warp on the unit. 4.threading the heddles and reed in the same action on the unit. 5. Taking the warp, threaded heddles and reed to the loom and attaching. 6. Attaching warp to the front rod. WEAVE.
This is the Saori premier warping method. It is a great development in freedom and comfort in weaving. You will need a Tabletop Beaming and Threading Unit and Kenzo’s Dividing Bar. This method allows you to beam your warp onto your warp beam and thread and sley the entire project off loom. It is very flexible and you can easily thread up pre-wound warps off loom, create your own pre-wound warps for later use, or just prepare everything off loom.
Pros: Off loom can offer you more choice in access to better light and comfort when sleying and threading your loom. Especially good for designing and beaming warps to use at a later date or share with others.
If you are new to weaving and you prefer more conventional weaving and setts on the Saori loom you may want a one on one cross for structured and organised patterns like colour and weave. In this case you may prefer method 1 as the cross holder holds every warp in order for threading. However, this method is good once you understand that you must select a certain thread for the threading order.
The beaming unit and Kenzo’s Dividing bar make the whole process of sleying, threading and beaming much quicker.
For more details on how the system works please contact Kaz.
Encouragement
I wrote this to make everything simpler but it does have a lot in it. Focusing on one warping method is the best way to go and then try others as your experience in warping a loom increases. Step by step. Curiousweaver Studio offers tuition in all methods.
Weaving Terms
I’ve littered this page with weaving terms in English, so here’s what they mean!
To Sley the reed: This is threading the metal reed.
To warp: winding a warp on a warping board or frame etc. The term warping often includes the entire dressing of the loom.
To beam the warp: This is winding the warp onto the warp beam at the back of the loom.
The cross: In wind the warp it is the crossing of threads around two pegs . The first thread goes over and under the peg, the next goes under and over the peg. This alternate action gives order to the warp threads so they can be placed on the loom, and managed. The cross can be held with two sticks but in the Saori methods we hold the cross vertically and pick off each thread in order. When using pre-wound warps there is no cross but the threads are taped in order and we have to use that order to get the loom threaded.
Standard point: This is a Saori term which refers to the point about one metre from the end (or beginning depending on method) of the warp where you will begin winding on the warp. A tight tie confirms that any messing up in the tension won’t go past that tight spot!
Choke tie: This is a weavers term in English to define the ties on the warp to hold it together tightly. The standard point is very important but the longer the warp the more choke ties you should have.
A raddle: This is a sectional divider used to help spread the warp out to the correct width of the weaving before beaming the warp. Usually used at the back of the loom. Kenzo’s Dividing Bar is a type of raddle but has more functions in how it works with the loom and in conjunction with the Saori Tabletop Beaming and Threading Unit.

