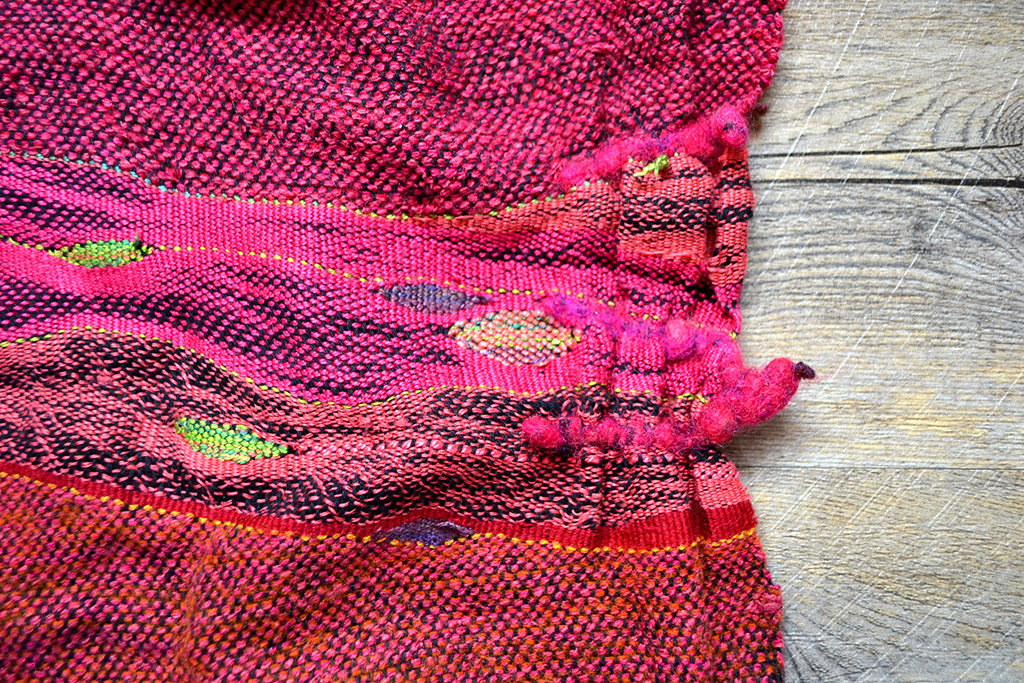
I hope you are all holding up well in this confusing time of covid. I have several technique articles ongoing here and this one is a simple edge puckering. The finishing process for Saori weavers can be quite the exhilaration, because we don’t really sample and check for what we want to happen. Using multiple fibres in our work really is a delightfully, risky activity.
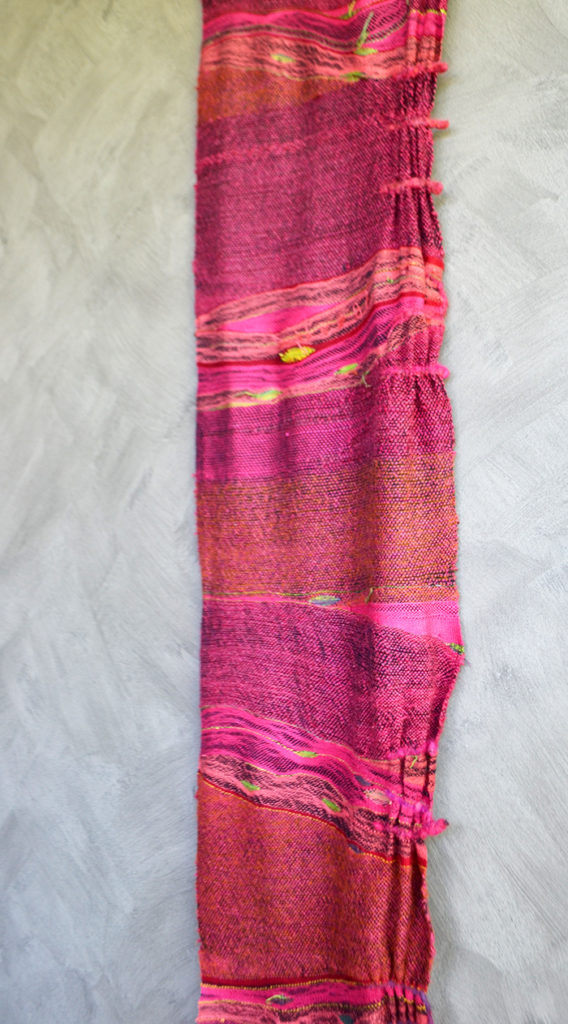
Edges in handweaving don’t have to be straight. They can be puckered and uneven. Image a collar with an uneven puckered edge! It’s all in the planning around fibres and finishing a weaving project.

The key to this technique is a little knowledge of fibers and what they can do for you. The effects can be unexpected. For example, wool is a sneaky fibre, capable of all sorts of devlish tricks. But cotton and silk are rather unmoved and reserved. They will let wool do its own thing but they won’t join in.
That’s what we want! Yarns doing different things together.
Weaving a simple pucker
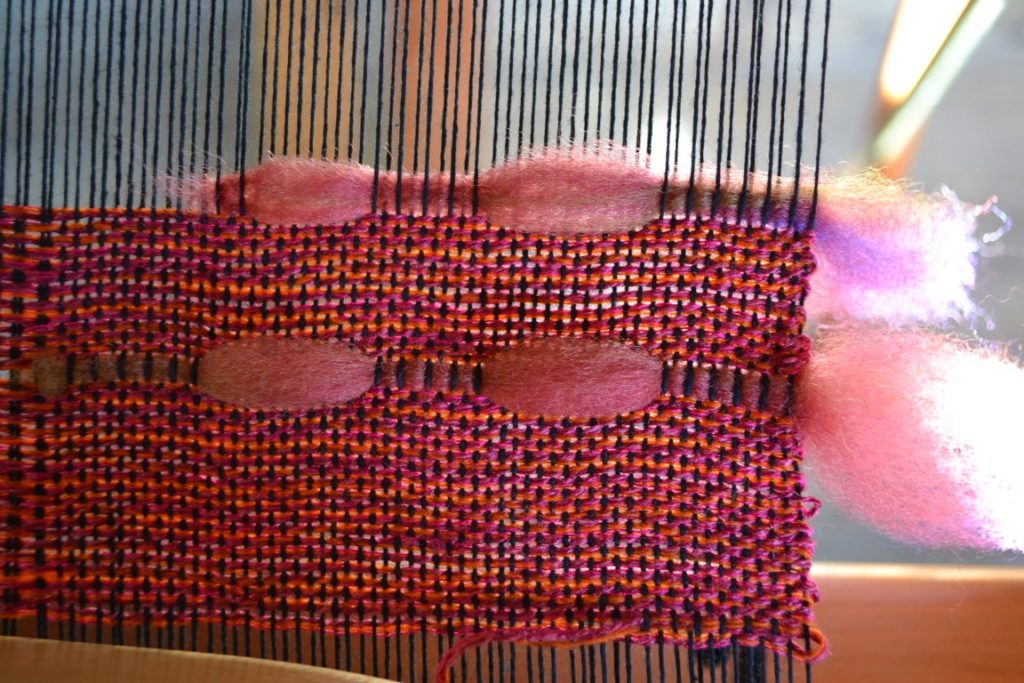
To weave a simple edge pucker, weave a cotton/silk plain weave cloth in your normal way with your own Saori style. These fibers will ensure that minimal shrinkage and movement will occur in the cloth when finishing. To place a pucker on the edge insert a piece of woolen sliver/roving in the open shed. I often jump over a few threads too but it’s not necessary. Place these wherever you want on one edge or both! I end them about 3 inches (7.5cm) from the edge, but they can also be very interesting by varying the length of the piece of wool sliver.
Expect the woven cloth to pucker along the area where the wool is woven in.

The cloth might look a bit ‘flat’ at this stage and you might be regretting the whole pucker thing but hang out until you’ve finished the cloth. The magic happens in the wash.
Finishing the cloth for the pucker effect
Cloth really becomes cloth after finishing. Before this it is similar to an unbaked cake. Finishing handwoven cloth is like washing it but it is different to the care process. Perhaps much more assertive. You’re the boss and you can look at this finishing process as the final shaping and finish for your completed cloth.
In this case we want to agitate the cloth just enough so the woollen sliver matts, felts and ripples the cotton/silk cloth into little gathers or puckers. Don’t worry about the main cloth because that is woven from cotton/silk and will be unmoved by the whole drama. Place the cloth in warm water with a mild detergent and knead it for several minutes in a sink or bucket until the wool does its thing and felts nicely. You could experiment with the a limited amount of agitation in a washing machine too but keep a keen eye on what that wool is getting up to.

These types of edges look great in clothing but also work well in wall drapes. They make a flat cloth instantly look interesting and more complex.

Leave a Reply