Making your own clothing is a joy and weaving the fabric for them is times two. Recently I’ve been enamored of Liz Haywood‘s zero waste patterns. Liz is from the Clare Valley in South Australia. I have stitched up several of the Lilypilly dresses which were fantastic in manufactured linen and the Cendre top equally as good. As many of the zero waste pattern ideas are in the Saori tradition it feels particularly good to use them in our Saori / Handwoven cloth. The great thing about Liz’s patterns are the detail and thinking that has gone into them especially with a wide range of sizing instructions and beautifully illustrated instruction.
Liz’s patterns are built around a manufactured width of cloth and the lay to get zero waste. But you can learn so much from them and adapt them or other designs we use to our handwoven cloth. For example, most curves or cutouts in the design an be reused as a pocket or facing. And with our woven cloth you just need to join the lengths to get the required width for the pattern instructions. Liz recently released a new pattern – Xanthea
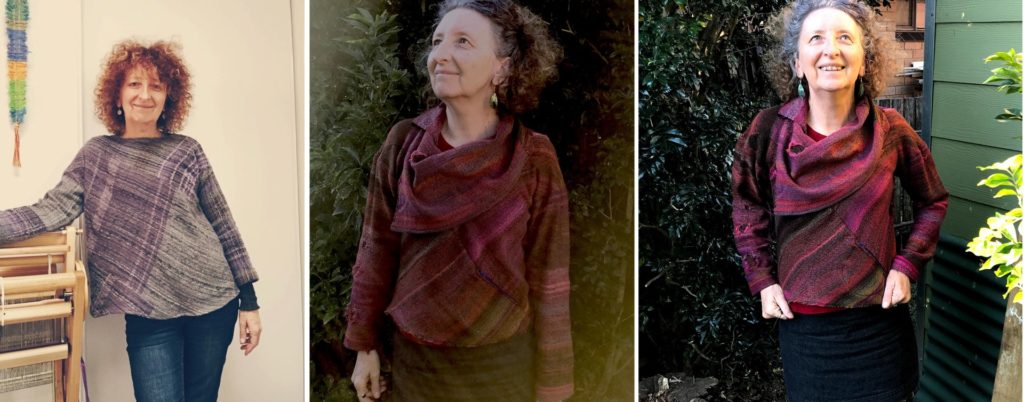
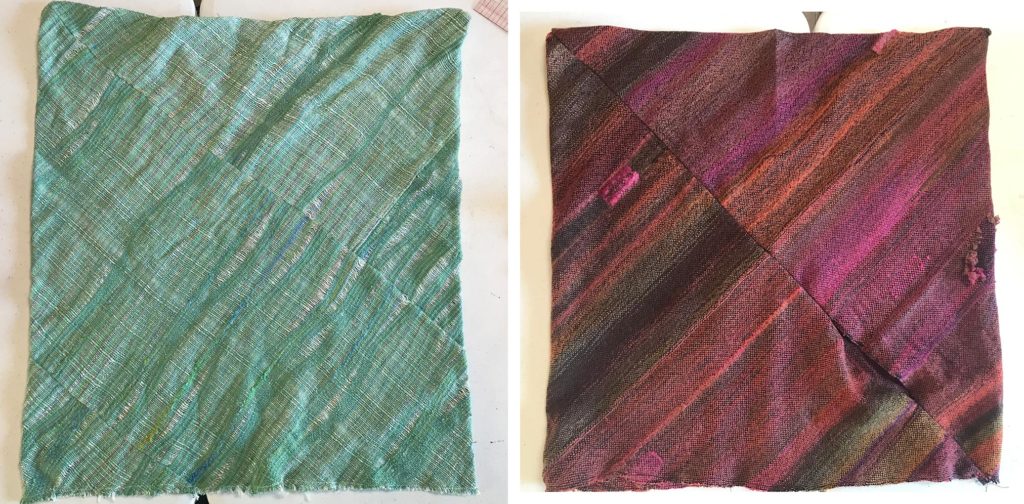
The Xanthea appealed to me because it looked very much like the Saori bias clothing designs. The Saori bias designs are based on the width of the woven cloth, which can be different from cloth to cloth. A very narrow cloth can be woven and turned into a bias ‘box’ shape easily. From this shape and its dimensions, a design can be created for a top, skirt, hat, wrap etc. The square folded shape in the Xanthea is based on a wider width (which I had to join for my woven cloth). So there is a little bit of difference in the set up of the base box. The Saori bias designing which is taught in Saori studios is easier and better for narrow and variable woven cloth widths. However the Xanthea pattern allows for a perfect pocket placing as you can see in the pink design below. Pockets are a great addition to our clothes and should be in every garment! The bias seamline in the green Saori design doesn’t place the pocket in the best position.
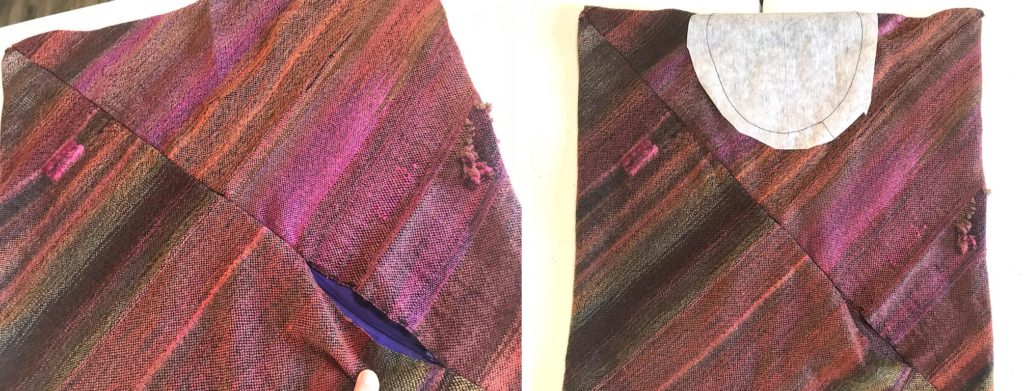
Here above you can see where the pocket with a zip goes in the bias seamline and the neckline ready to be stitched and cutout to provide the fabric for the little pocket in the seam. No waste! We don’t usually put zips and pockets into our Saori clothing but I really think I will be from now on as I love them so much. I use a stitch and tear off type of material to draw the shape of the neckline then stitch it around ready to cut out. Always try to stitch the cloth before cutting. When I made the cut for the armholes I didn’t stitch first but stitched around it immediately afterwards so it didn’t ravel away.
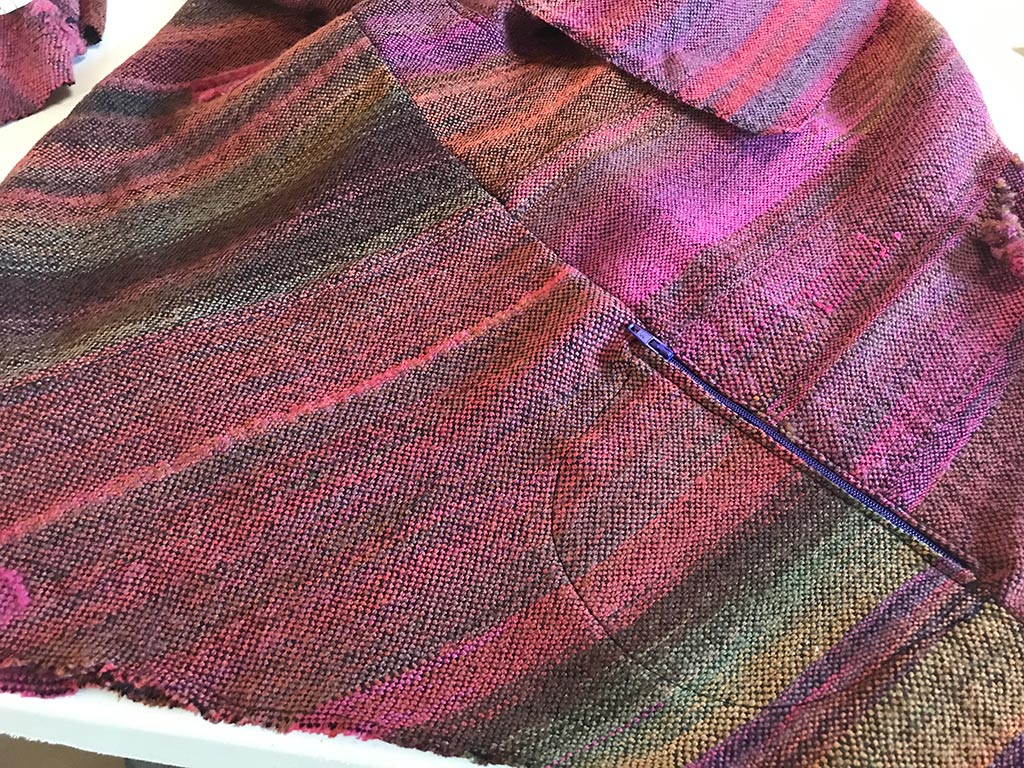
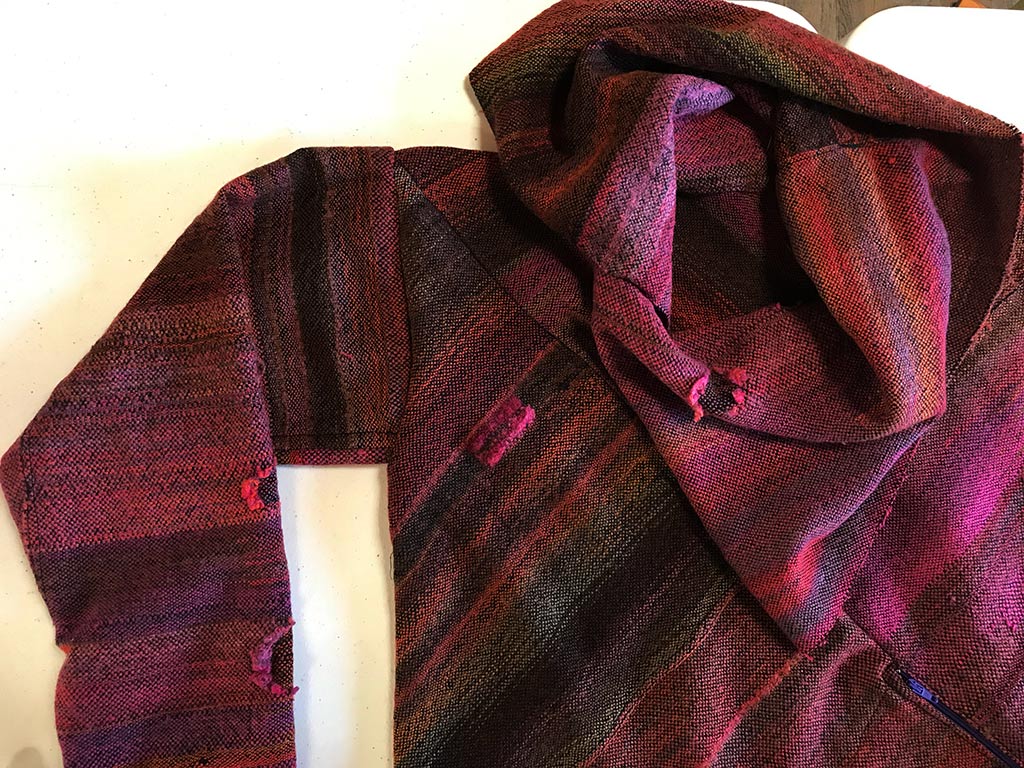
To make sure the woven cloth is handled well in the sewing I used the flat felled seam for all seams. I also created a collar instead of the plain neckline. The collar was the fabric for the short sleeves on the Xanthea pattern. I then used additional fabric to cut the long sleeves as directed in the instructions. The collar is just the rectangle attached to the neckline and overlapped at the side front of the neckline.
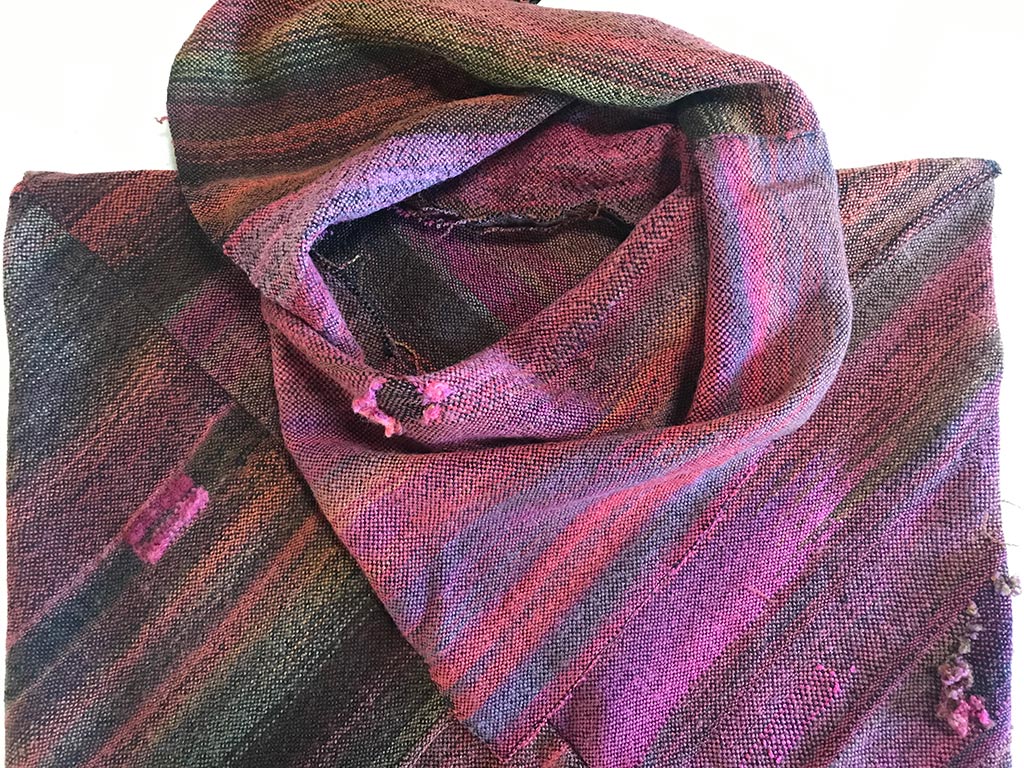
I love these sorts of collars but I wish my ‘moth eaten’ technique was more extensive in the weave. All of the fabric was woven with a wool weft on a black prewound cotton warp. The width on loom was 50cm (250 thread) wide. The finished width was about 38cm. The garment was made to the size 8 on the pattern but it may be a little short in length for me. No worries I’ll weave a little more of the same and stitch it to the bottom. With larger sizes just join woven fabric lengths until it is right for you according to the pattern.

Leave a Reply